Recipes and combinations for making your own craft supplies at home-
How to videos:
1.Acrylic Ink:
1/5 of your container acrylic paintsome warm water
a small bead(for movement)
2. Gesso:(for 1 litre container)
1 part talcum powder2 parts water
1 part white craft glue(substitute for acid free glue for scrap booking use)
3.embossing paste:
1/2 c talcum powder1T white craft glue(substitute for acid free glue for scrap booking use)
1T acrylic paint
add a few drops of water
4.distressed embossing powder:
a)add salt to regular embossing powderb)or add fine craft sand to regular embossing powder
use as normal
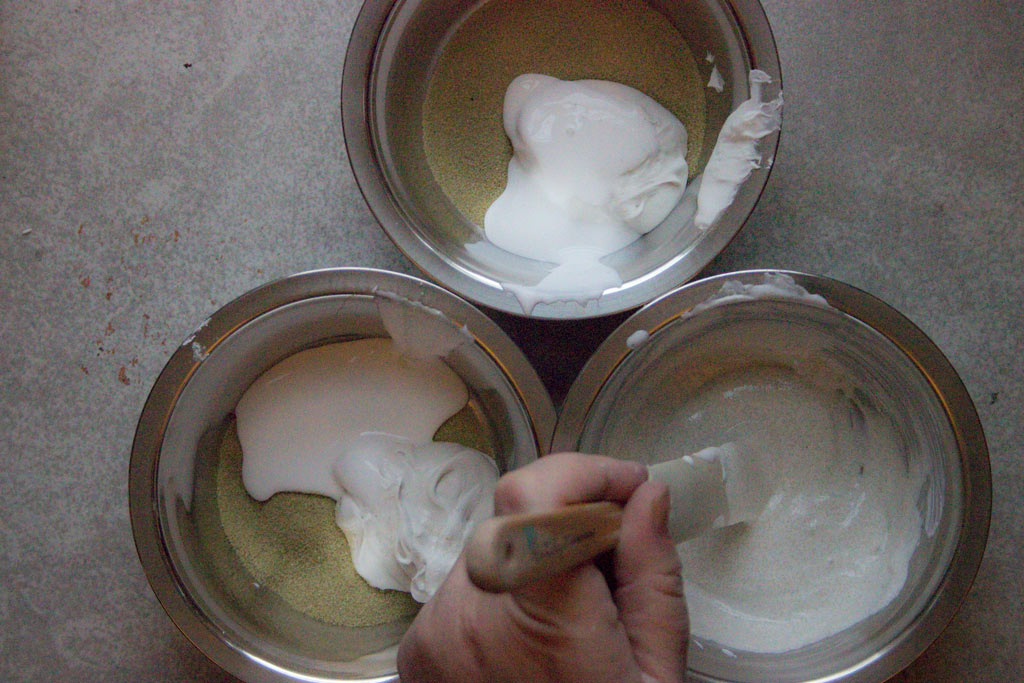
5. diy puff paint:
1 part shaving cream1 part white craft glue(substitute acid free glue for scrap booking use)
acrylic paint to color
6.homemade alcohol blending solution:
solution bottle(tomato sauce dispenser type)70% rubbing alcohol
use in a well ventilated area
7.homemade glossy accents/dimension glaze:
1/2 t water1T white craft glue(substitute with acid free glue for scrap booking use)
1T gel/alcohol free gloss varnish
mix well
8.glaze gel(to give you a stained glass effect):
an empty well cleaned stickles type containerglossy accents
oil pastels
method-
break off a small piece of oil pastel.crush it between paper.add it to glossy accents.mix well.add more or less oil pastel as you need.
9.gel medium/glaze medium:
mod podge( 2 parts glue,1 part water consistency)acrylic paint
10.air dry clay:
1 and a 1/2c Maizena flour1 T baby oil/cooking oil
1 T white vinegar
1 c white craft glue
1 t body lotion(do not emit this part)
method-
combine ingredients in a mixing bowl
add a little more Maizena (cornflour) till your mixture stops sticking to your hands.
knead well
(cover in cling wrap and store in an airtight container)
 |
| free to download label |
11.mod podge:
1 part white craft glue1 part water
12.texture paste:
1/2 c talcum powder1T white craft glue(substitute for acid free glue for scrap booking use))
1T water
13.glass bead medium:
mod podge
glass beads
14.alcohol sprays:
(wear gloves for this)
fill bottle with rubbing alcohol
-remove the inside and nib of marker pens.
cut it into pieces.
let stand till color saturates(overnight is best)
-another idea is to purchase a bottle of cd/dvd cleaner(comes in a spray bottle already and is filled with alcohol).it costs the same for the complete product as that of a stand alone container.
and add your marker- inside and nib into this
mark and name your color on the outside of your bottle

15.alcohol ink:
1 part dye
6 parts alcohol
2 parts distilled water
16.pigment ink:
watercolor opaques(gouache)
glycerin
rubbing alcohol
17.chalk box ink refills:
opaque watercolors(gouache)
rubbing alcohol
18.glimmer spray/mists:
water
food coloring
glitter eyeshadow or mica
19.rubber stamp cleaner:
2T glycerine,1T baby shampoo to equal 1/4
water to equal 3/4

20.homemade clear embossing ink:
1T Vaseline
1/8 capful cooking oil
1/8 capful cooking oil
1/8 capful rubbing alcohol
mix and apply to pad.remove excess
to colour add watercolour paint or food colouring

acrylic paint recipe:
1c salt1c flour
1c water
food coloring
how to make your own stencil/mask:
hot glue gun
silicone craft mat
draw your pattern of choice out of hot glue onto your mat and leave to dry and cool
a few uses for glycerine:
-re ink your embossing pad
-add to dried up water color paints
-add to ink pads along with a few drops of water to freshen up
how to make frost paint:
mix equal parts epsom salts and boiling water in a glass.stir till salts are dissolved.let cool
dimension liners:
white glue
acrylic paint
use the container(nozzle type)that the glue came in
how to add melted wax to your canvas:

powder paint(tempura watercolor):
grate ordinary chalk on rough side of your kitchen grater,works like a charm at much less of a cost

Recommended-
Jennibelle's recipe for modelling paste-
1/4 gesso
3/4 bicarbonate of soda
Birgit Kerr's recipe for alcohol ink-
 |
| another recipe for alcohol inks..using cool aid http://birgitkerr.blogspot.com/2012/03/how-to-make-your-own-alcohol-inks.html -------------------------------------------------------------------- -Craft Snow  \ \Home-made Texture Paste & Glitter Paste Tutorial
.
RECIPE #1 - STICKY PASTE
INGREDIENTS:
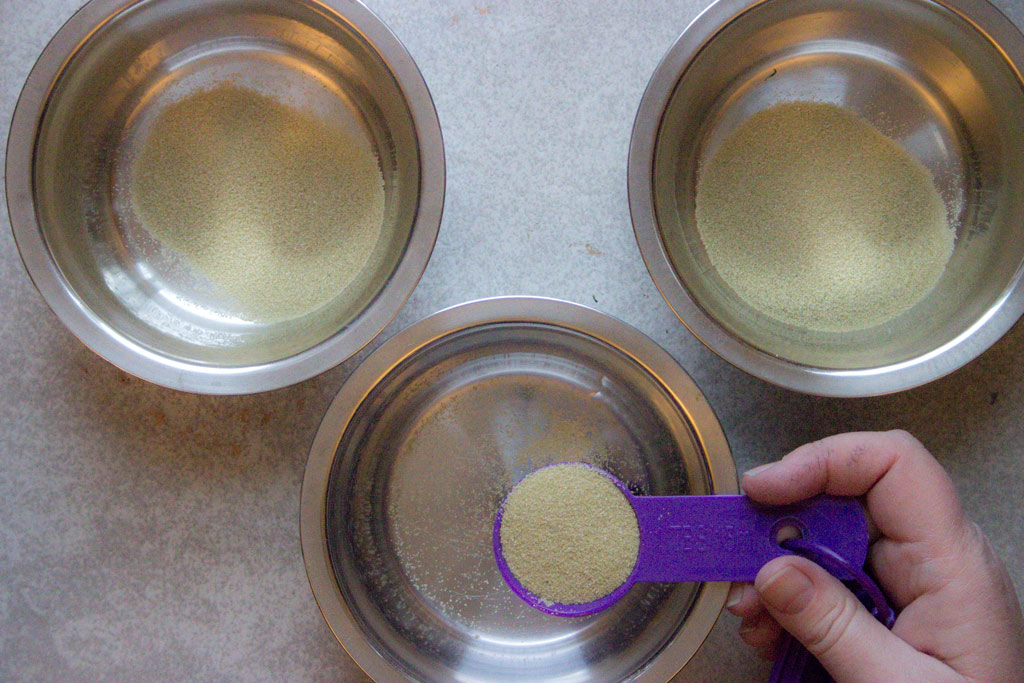
- Baby powder or talc powder - white,
non-scented is always good. The perfume magnifies under heat, so you be the judge of how much time you can spend breathing in those fumes.
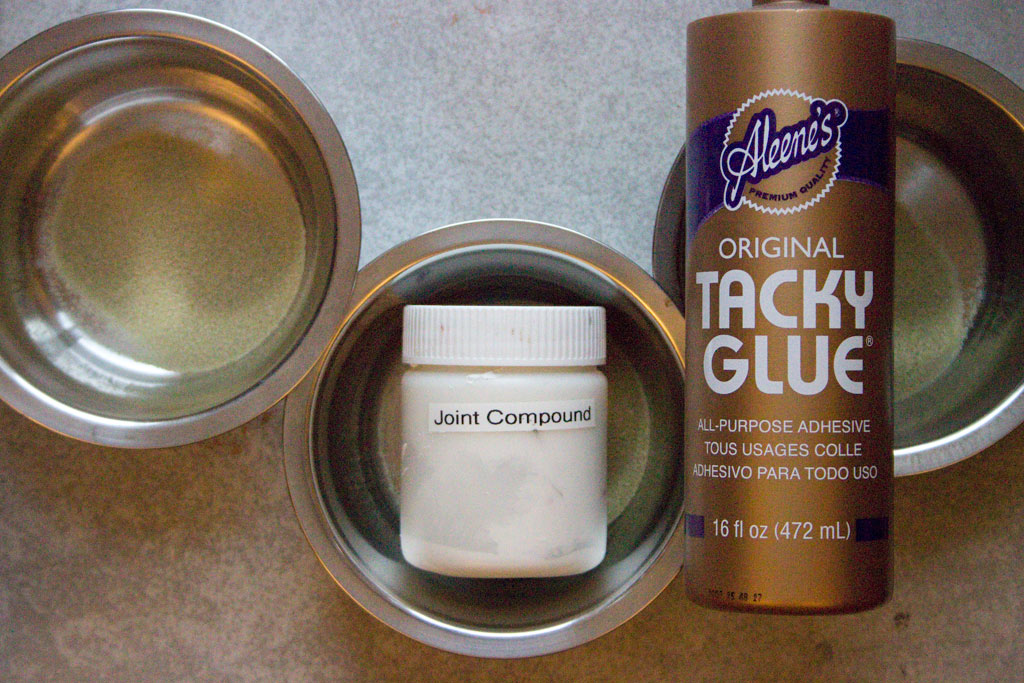
- White Glue - cheap, dollar store glue actually works great.
The only thing you don't want is glue that dries too fast or glue that is really shiny when it dries.
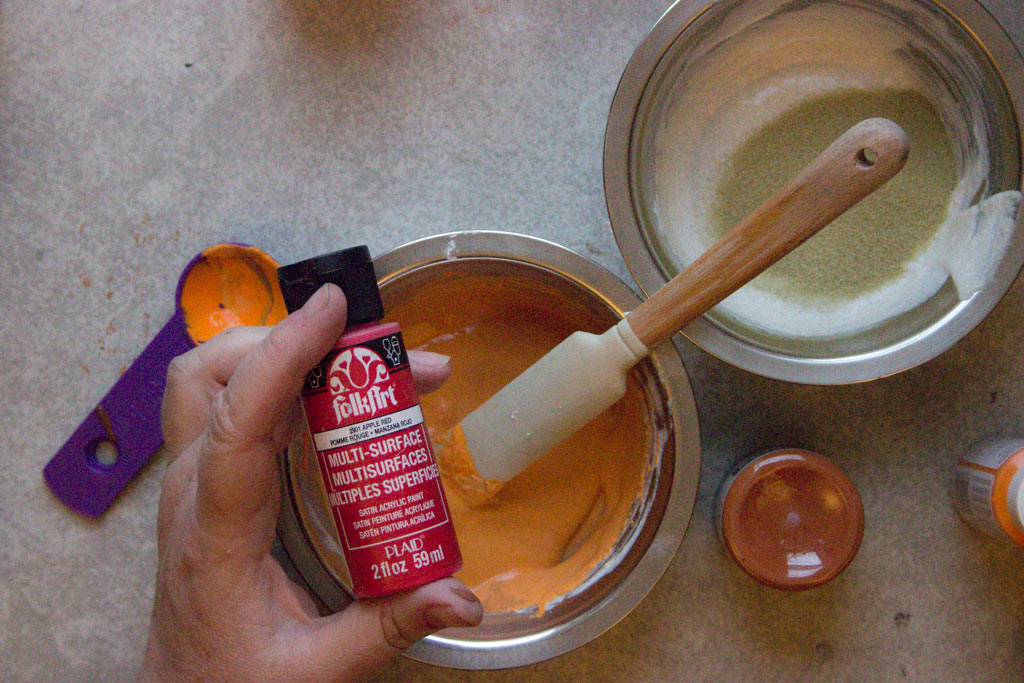
- Acrylic Paint - again, just some cheap,
dollar store paint will do the trick! Nothing fancy required!
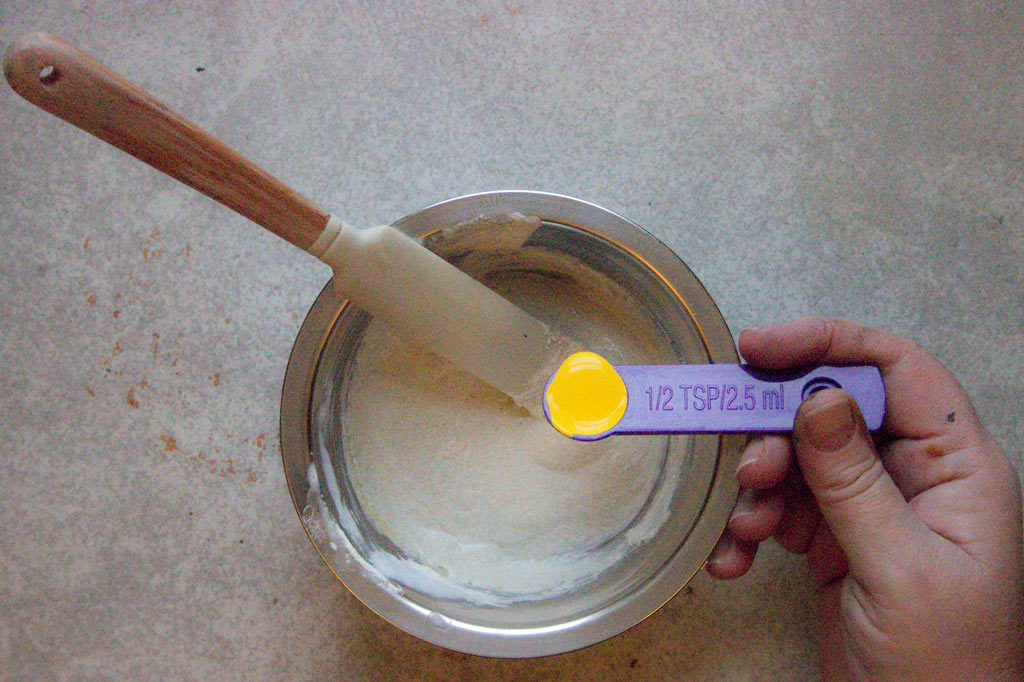
- Portion Cups - I use plastic ounce glasses from
the party supply store which makes about 1/3 cup of paste
You will also need a container to mix in that can be
sealed air tight and something to stir with.
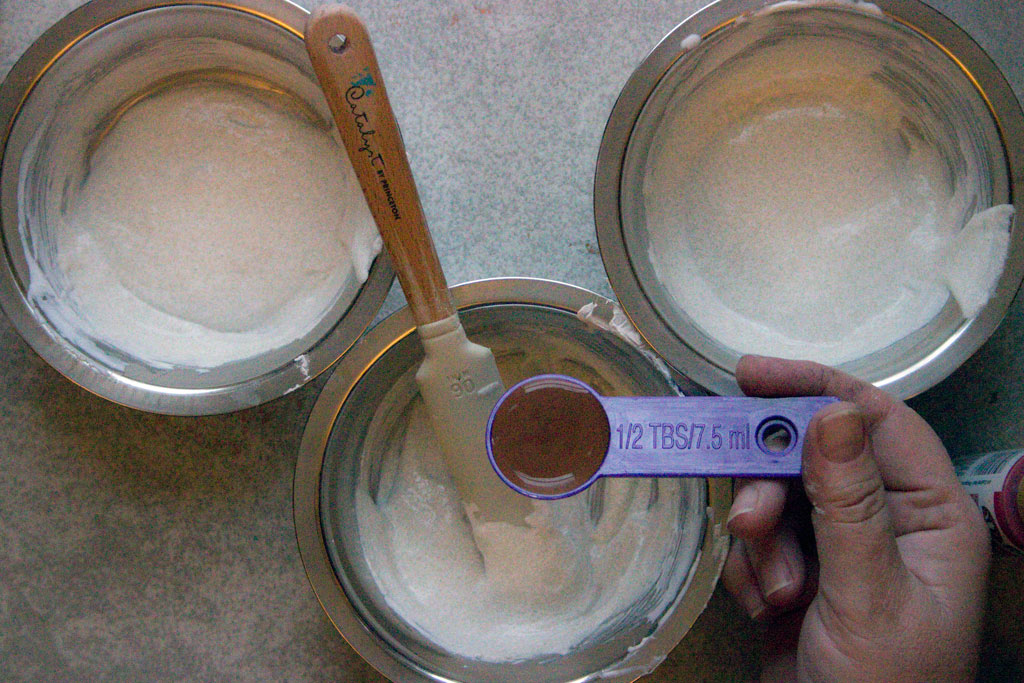
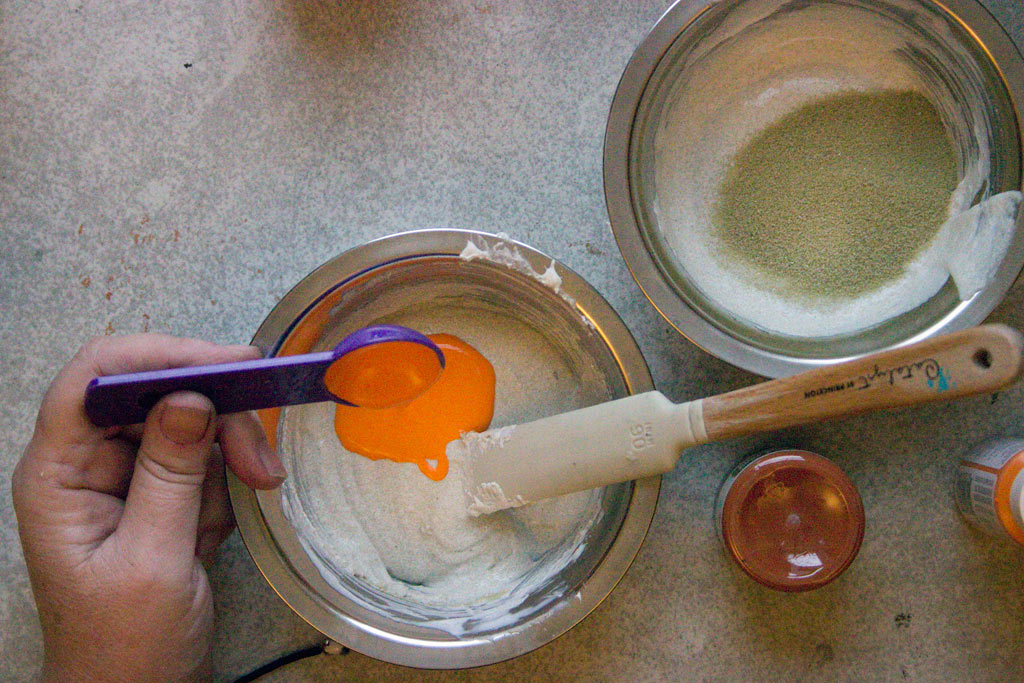
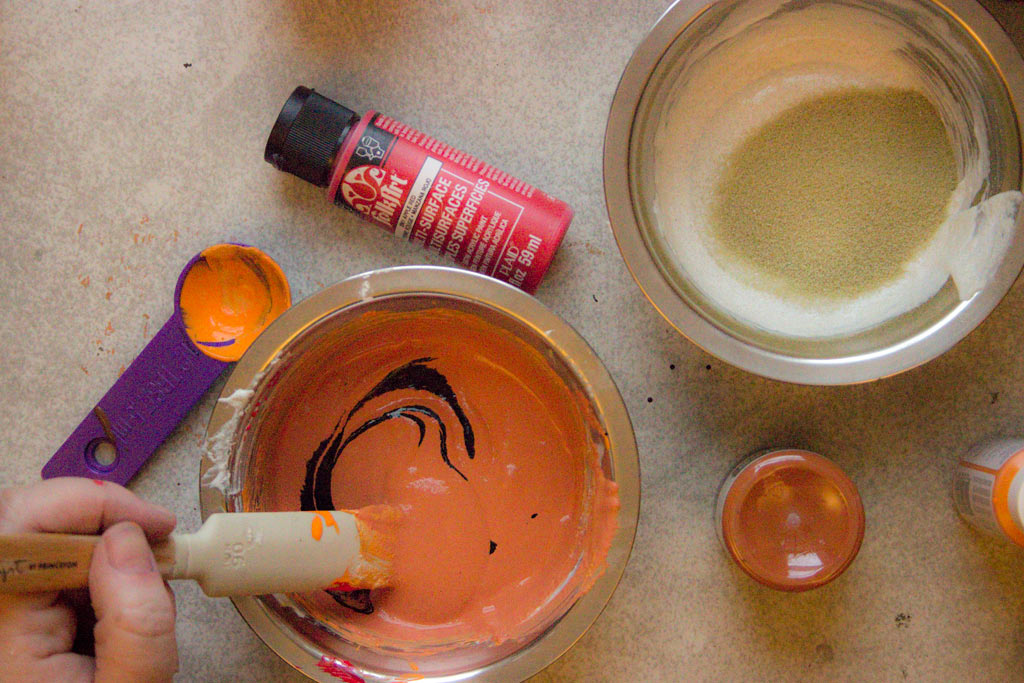
RECIPE:
- 1 portion of paint, 1/2 portion of glue and 2 portions of powder

DIRECTIONS:
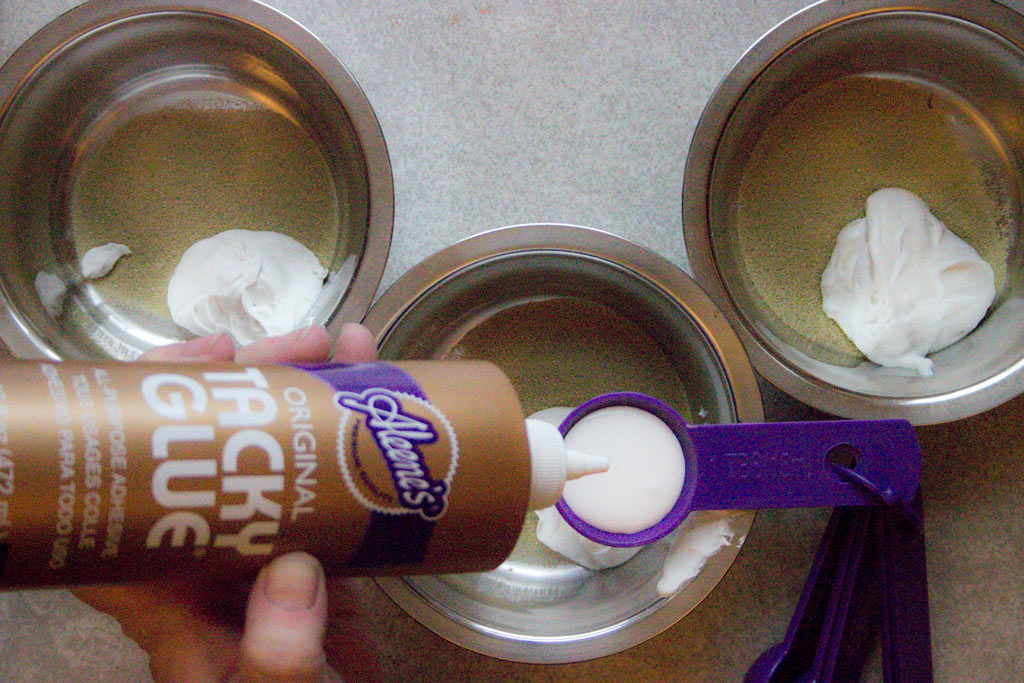
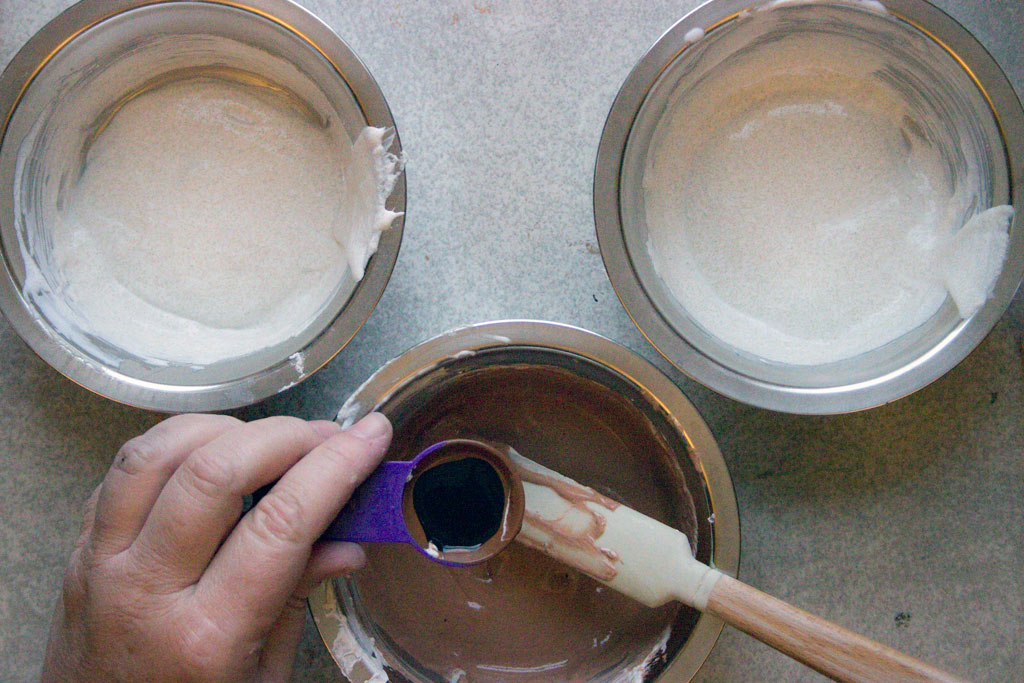
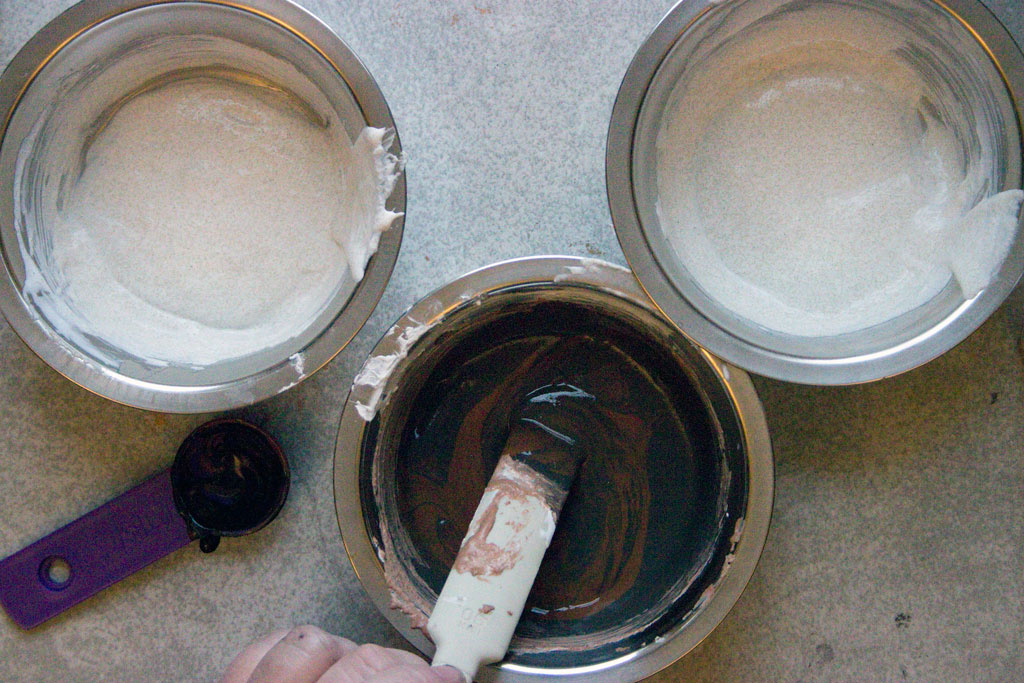
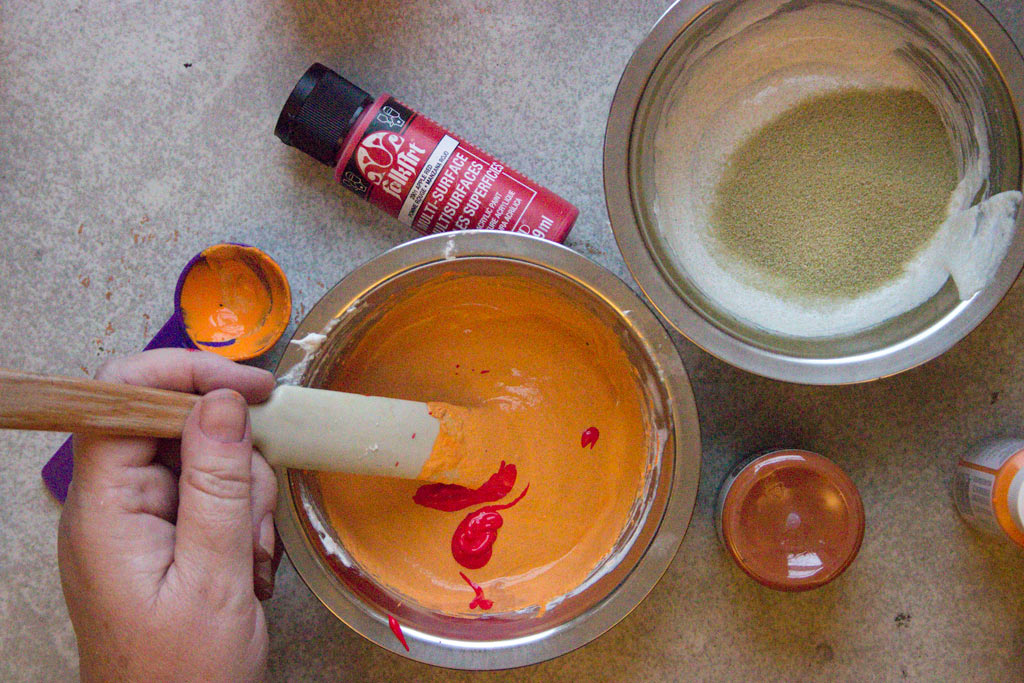
- put your wet ingredients in first (the glue and paint),
then just like when your making tea biscuits or a pie crust...slowly add the baby powder, making sure to stir well. This will ensure that you get out all of the lumps making it nice and creamy and easier to spread...just like your pastry!!! 
BEST USE FOR STICKY PASTE: This is the paste you want to use
if you would like to sprinkle on a little glitter or embossing powder. It is also great if you want a smooth pattern with crisp edges.
PRO'S - It is really smooth, so it spreads easily.
It is really wet, so the glitter and embossing powders stick to it really well. Because of the slower drying time, you have leeway for clean up and putting the cap back on. It makes a wonderful, clean, crisp pattern once it dries.
CON'S - It is really wet,
so it takes a lot longer to dry and warps the paper more. You won't get a good texture with it because it isn't stiff enough to maintain peaks and grooves. You also cannot lay it on very thick or it just falls like a badly baked soufflé!
In this sample, I sprinkled on some gunmetal glitter.

In this sample, I sprinkled on black embossing powder.
You can get two looks from this. If you leave it the way it is, it has a soft velvety appearance and feel to it. Or you can use your heat gun and melt it like you normally would for a shiny surface (that will also act as a resist to preserve the color of your paste when you start inking).
If you decide to melt your embossing powder,
be sure to wait until your paste is completely dry before taking the heat gun to it. If the paste is still wet, the powder will burn long before it melts. You can see below, half I left as it was and the other half I melted with the heat gun (too soon, I might add) 
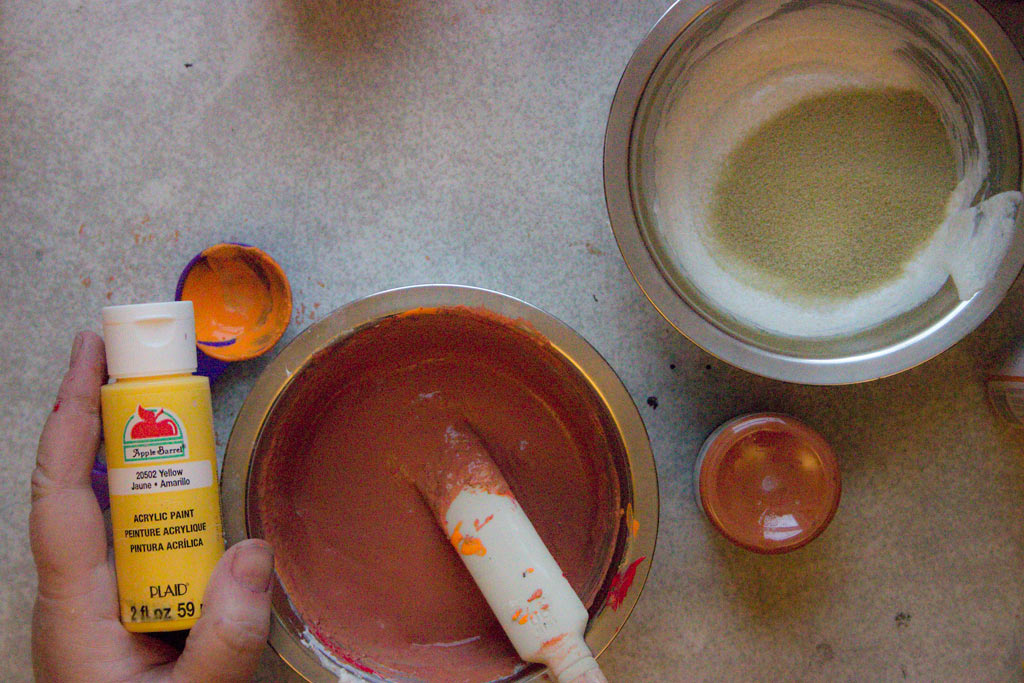
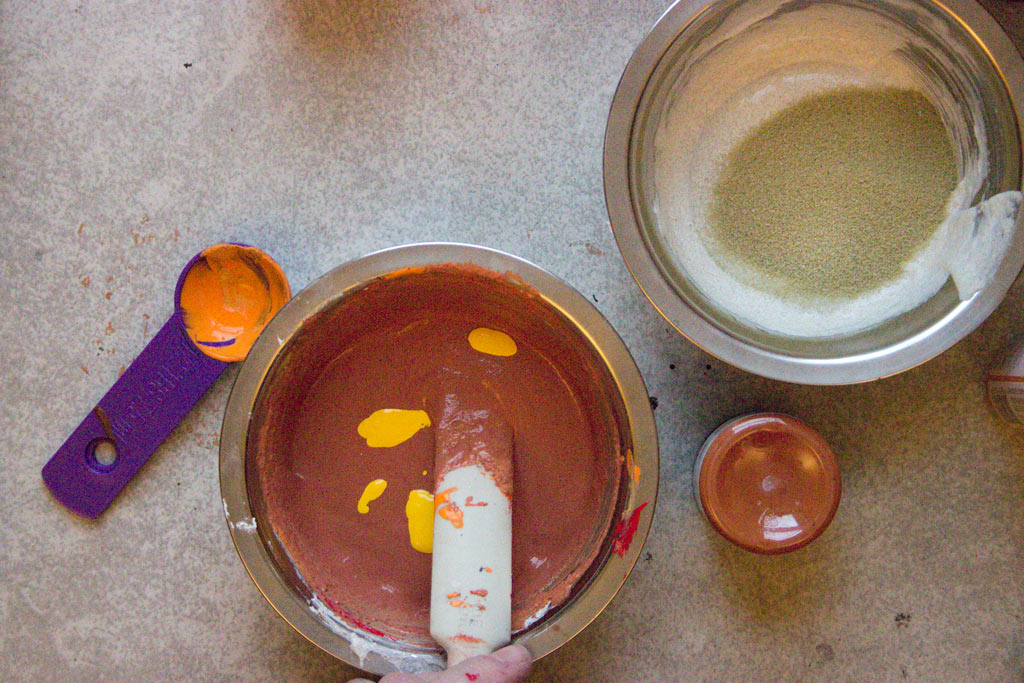
RECIPE #2 - DRY PASTE
The only difference between the recipe for sticky paste and
dry paste is that the dry paste has 1/2 portion extra of baby powder added to it (depending on the brands of paint and glue, you may have to add a bit more powder). Here is a shot so you can see the difference in shine and consistency. 
BEST USE FOR DRY PASTE: This is the paste you want to use if you are going for texture.
It's the base for my bark technique and it also makes greatclouds, wood planks, ocean waves and all sorts of other textures.
PRO'S - It has less glue and paint, so the drying time is
considerably less than the sticky paste and it also doesn't warp your paper too badly. It's, of course, fantastic for texture and depth because you can lay it on thick and mold it! It looks great on vintage or grungy projects.
CON'S - Don't leave the lid off because it will dry out crazy
fast, right in your container! It can be a little harder to spread because it's so thick and pasty - and make sure you wash your stencil right away or it will crust right on.
Here is one done with Sticky Paste and one done with Dry Paste,
so you can see the difference in the finished textures. I have spread some yellow and white paint on it to make it easier for you to see. 
RECIPE #3 - GLITTER PASTE
INGREDIENTS:
- Baby powder or talc powder - same as before.
- White Glue - same as before.
- Metallic or Pearl Paint - again,
just cheap acrylic paint is fine. If you don't have metallic, that's ok, it just adds a little extra shimmer is all.
- Fine Glitter - Any brand will do, although the boldest,
brightest versions work the best. This is the glitter that will blend in with the paint to give it an overall shimmer.
- Coarse Glitter - The coarse glitter is what will
grab the light and really make it sparkle.
For the coarse glitter, I recommend the flat octagon style of glitter. Most cheap glitters
for kids crafts will be great for this. I know we all love our Frantage, but those chunks do not spread, they drag and leave gaps in the paste. Tim Holtz distress glitter, I'm sad to say, does not work either. It's not quite sparkly enough and gets coated with the paint, never to be seen again. Here are the glitters that I use ...lots of shimmer to them. 
RECIPE:
- 1 portion paint, 1/2 portion glue, 2 portions powder,
1/2 portion fine glitter and 1/2 portion coarse glitter 
BEST USE FOR DRY PASTE: Christmas, of course, but pretty much
any other project too!
PRO'S - You absolutely cannot get a beautiful shimmer and texture
like this, simply by sprinkling glitter on top of a product! And as a bonus, it's so freaking cheap, you can make some in every color!!
CON'S - You may never want to use plain texture paste again!!
In this sample I used pearl paint and iridescent glitters,
you should really zoom in and check it out!  
---------------------------------------------------------------------------------------------------------------------------------------------
Homemade Flocking Powder:
         
1. I Started with Craft Seam Binding ribbon
2.Used a pretty leaf heart punched paper 3. Cut small piece of Craft Seam Binding ribbon 4.unravel it 5. Cut it super fine 6. collected fuzzy powder 7. Spread glue on desired area 8.Spread fine fuzz over glued area -shake excess off-
---------------------------------------------------------------------------------------------------

Make any color paint into fabric paint.
You can get fabric 'textile medium' at most craft stores
You just mix it with any color acrylic paint and it instantly turns it into fabric paint.
I'm totally obsessed with it. DIY Enamel Dots-
These fun candy-like dots will be a great addition
to your stockpile of crafting supplies–use them as embellishment in your scrap booking and card making,
utilize them for jewelry making, add them to mixed media art pieces,
let your kids glue them onto their craft projects; the possibilities for these
pretties are endless!

Here’s what you’ll need to make your own:

Preheat your oven to 400ᵒF. Line your baking sheet with parchment paper.
Arrange your pony beads, hole side up, on your baking sheet
so they are about 1/4-inch apart.

Place your baking sheet of beads in the oven for about 15 minutes,
or until beads have totally melted into dots.
Do not leave your beads unattended during baking,
and check on them frequently!
The melting beads will give off a plastic smell, so if you’re sensitive to smells,
turn on the oven vent fan or open a window–the smell wasn’t strong enough to bother me.
I found that different colored beads melted at different rates, as did different sizes.
I had a few beads that, no matter how long I baked them, still had a tiny hole in the middle. Let your beads cool completely before handling. That’s it! That’s all you have to do to have a whole bunch of beautiful dots for your crafting stash!

I love these dots! I BIG, puffy-red-heart these dots! I want to make huge amounts of them,
glue them to everything I craft, cover my house with them, I want
to dive into a swimming pool full of them–I. Adore. Them!
They’re so pretty to look at, and so much fun to use!
I glued them onto earring posts to make cute new earrings.
I have plans to glue them onto the ends of bobby pins for a fun new hair accessory.
I used different sizes of pony beads to create dots in a whole range of sizes.
The opaque pony beads make dots that look like button candies,
and melting the transparent pony beads will result in dots that look like drops of liquid.
Try all sorts of pony beads!

I stuck a whole bunch of dots onto a painting I just finished,
and I love the texture that they add.

So, get some pony beads, fire up your oven,
and make yourself a whole slew of colorful dots!
What else could you use these pretties for?
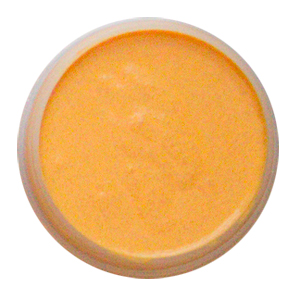
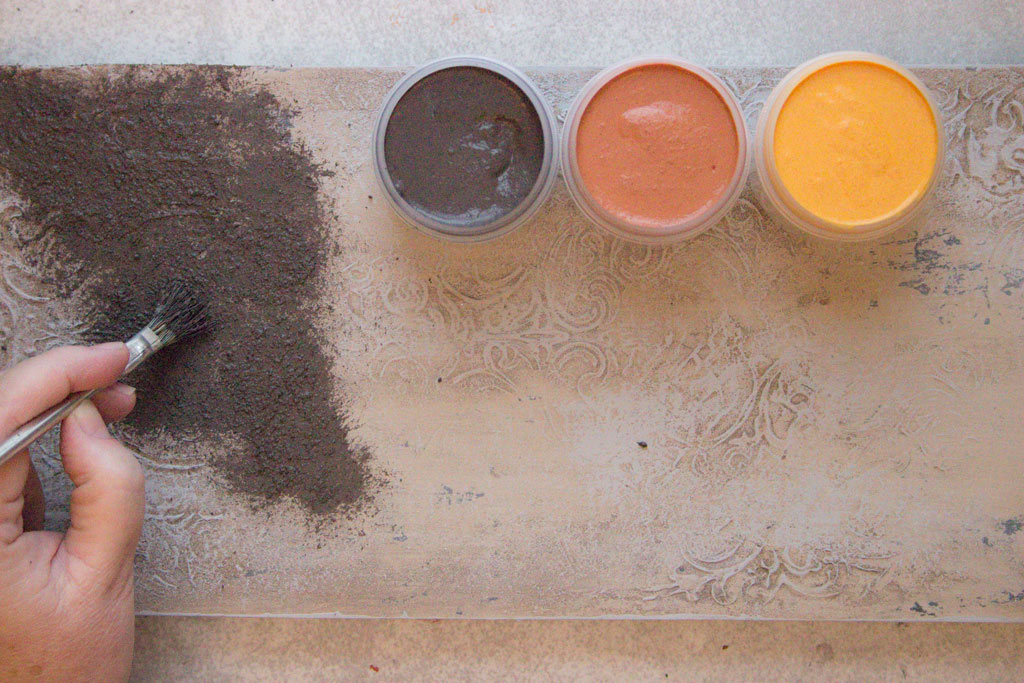
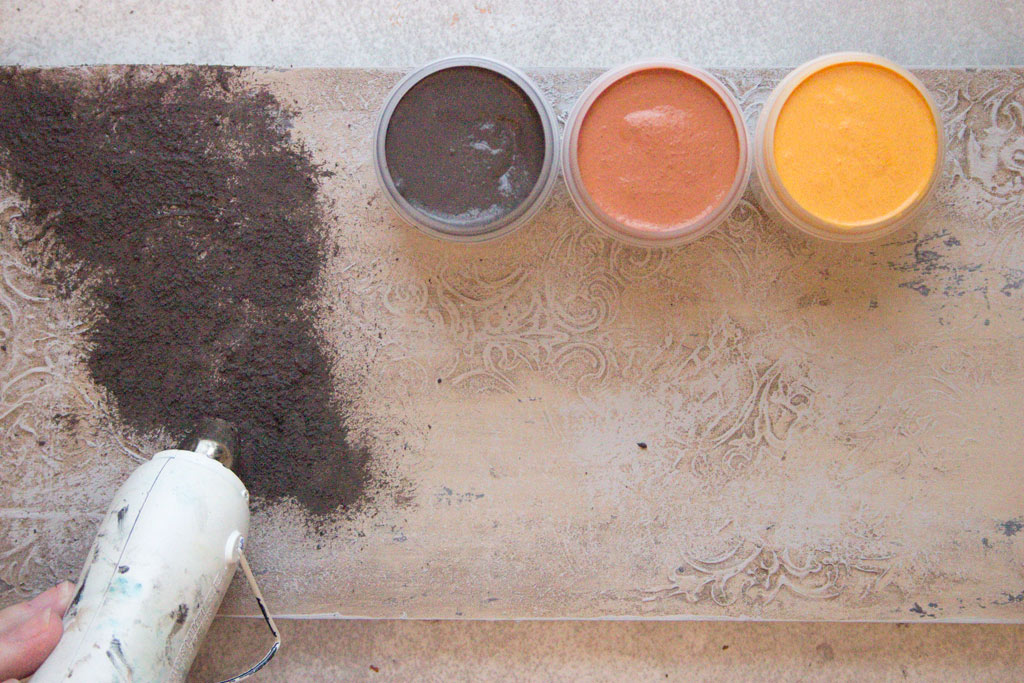
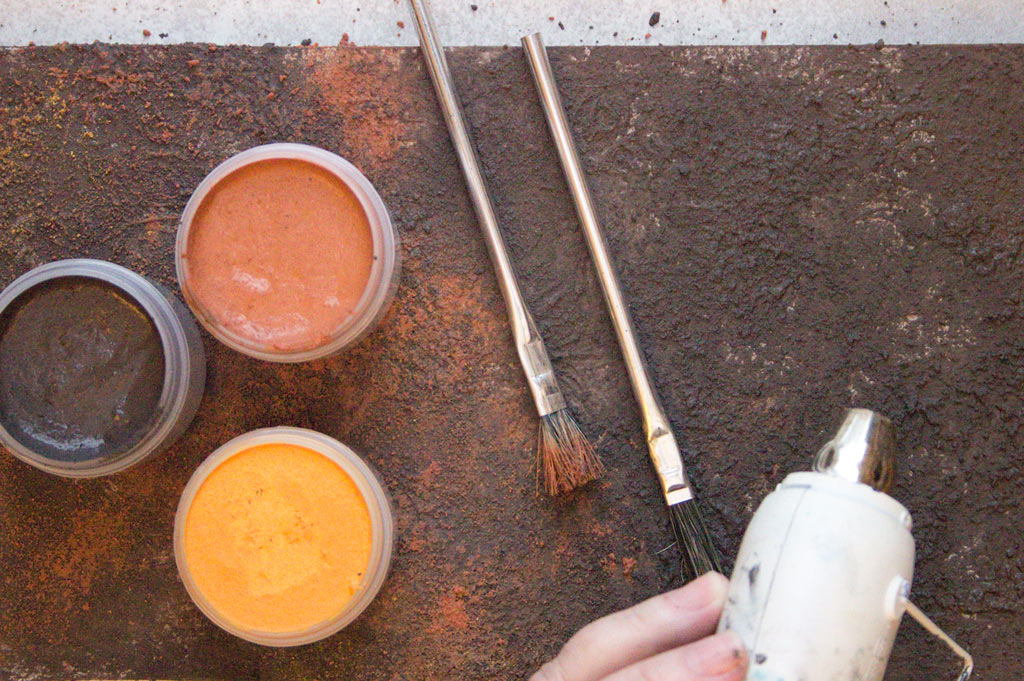
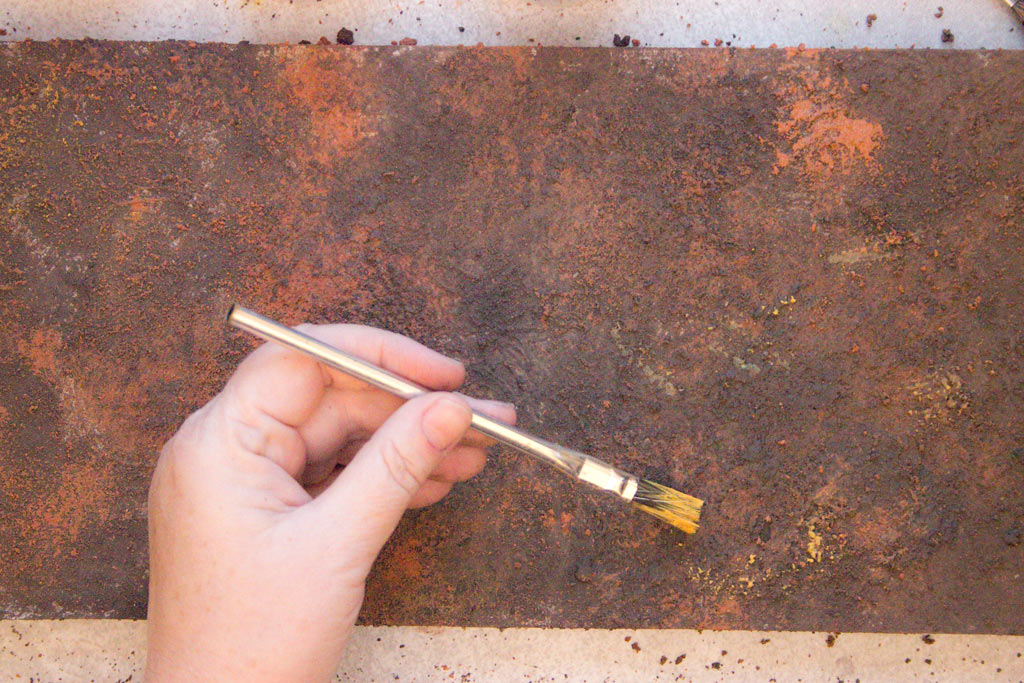
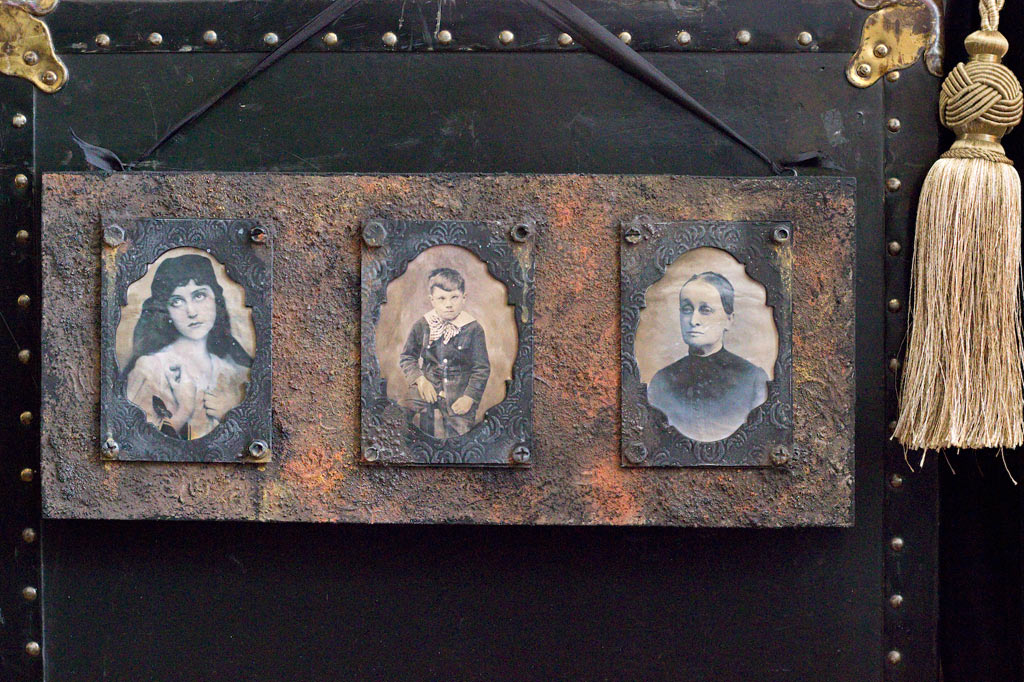
 DIY RUST PASTE-Make your own(super easy and save yourself a small fortune)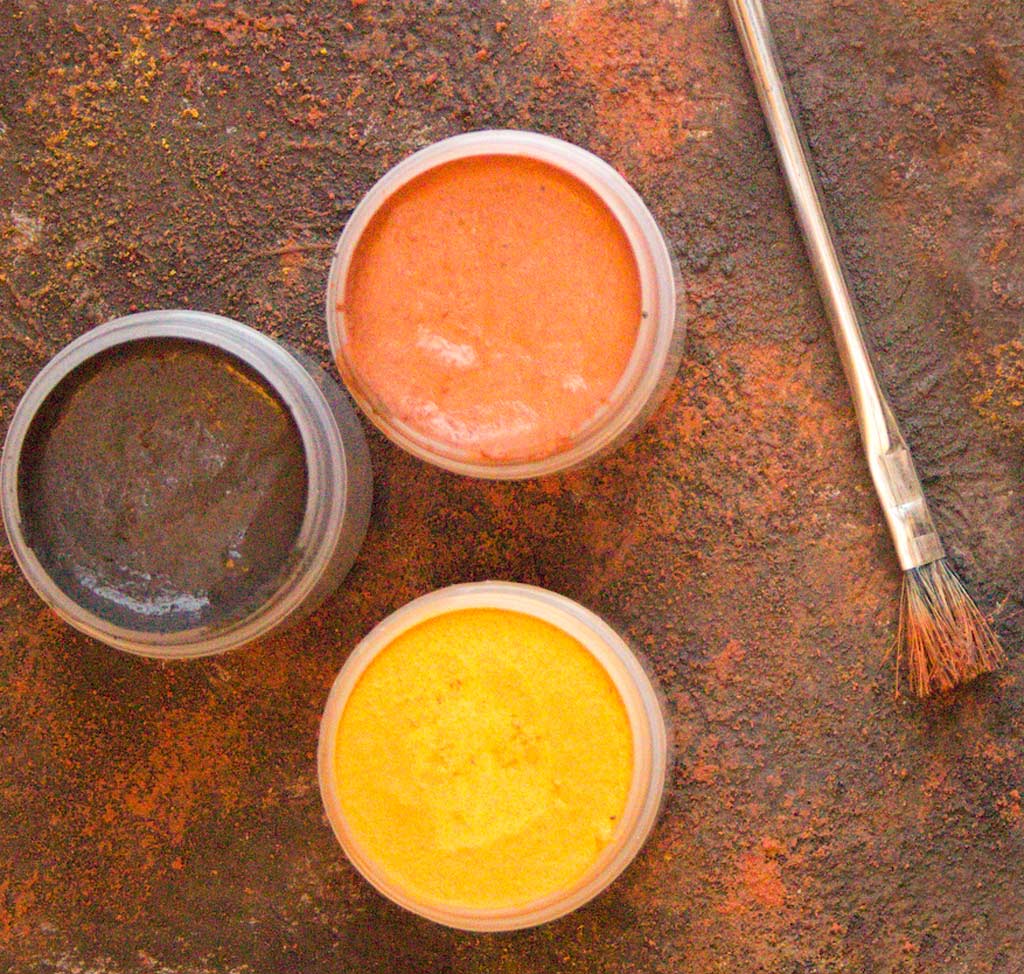 |


This is fabulous, thank you so much!
ReplyDeleteBest blog ever! Thanku so much for sharing, you're an angel 😇
ReplyDeleteThank you for your great ideas. Wonderful blog!
ReplyDeleteThanks so much
ReplyDeleteThank your for your kind comments.Are there any requests for more products?
ReplyDelete